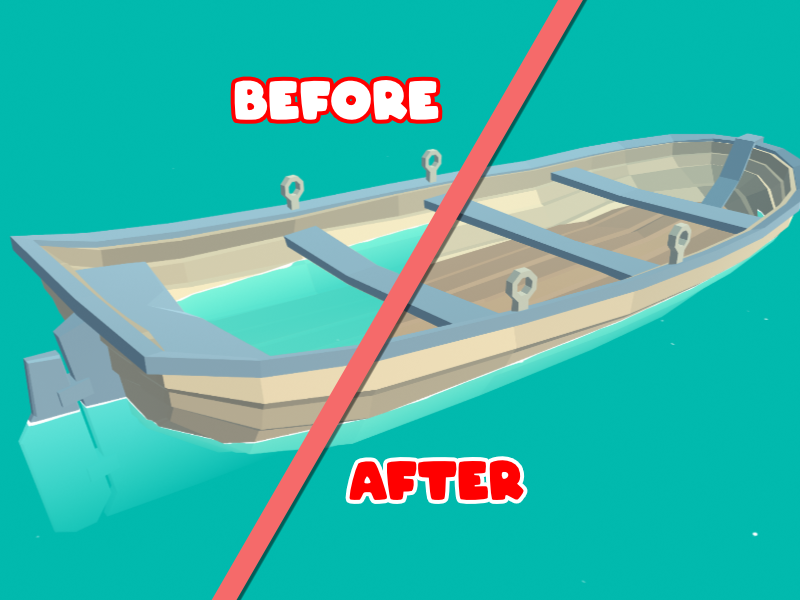
This tutorial will show you how you can clip out parts objects from being rendered, alongside this I will give a simplified explanation of how stencil buffers work. Stencil buffers can be thought of similarly to how clipping masks work, In this case they will be used in 2 ways firstly they can exclude whats inside the mask from being rendered and secondly they can do the inverse of this and only include the contents of the mark depending on the logic that is applied in the shader.
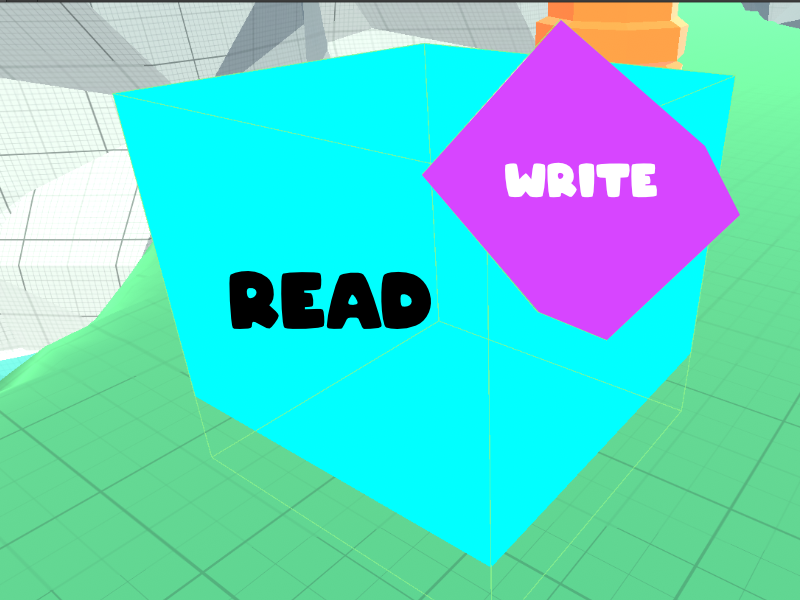
Before going right into the code, I would like to give a brief explanation to how stencil buffers in unity and other similar graphics programming languages work. The stencil buffer tests are a per rendered pixel two-stage process. Initially writing values to the buffer of the pixels of the write objects, followed by reading and comparing the values in the buffer, from this it is possible to execute conditional operations.
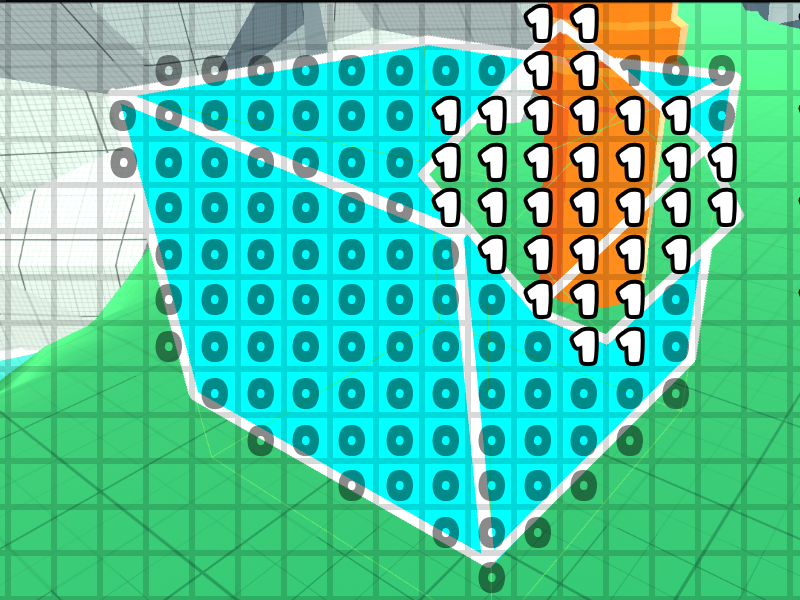
In this example above is an abstraction of how the values would look during the reading process of the stencil buffer, it can be seen that the write objects placed the value 1 in the stencil buffer and where the write objects does not overlap the read object no values have changed and the buffer is 0. with some logic here it is possible to not render anything where the overlap occurs, by rendering all of the pixels in the buffer that are not equal to the value in the buffer.
Shader "SharkWithLegs/bufferWrite"{
    SubShader{
        Stencil{
            // set stencil buffer value
            Ref 1
            Comp Never
            Fail Replace
        }
        Pass{}
    }
    FallBack "Diffuse"
}Shader "SharkWithLegs/bufferRead"{
SubShader{
Tags {
"Queue" = "Transparent"
}
// stencil operation
Stencil{
Ref 1
Comp notEqual
}
// shader stuff here
Color(0,1,1)
Cull Front
Pass {}
}
FallBack "Diffuse"
}
}
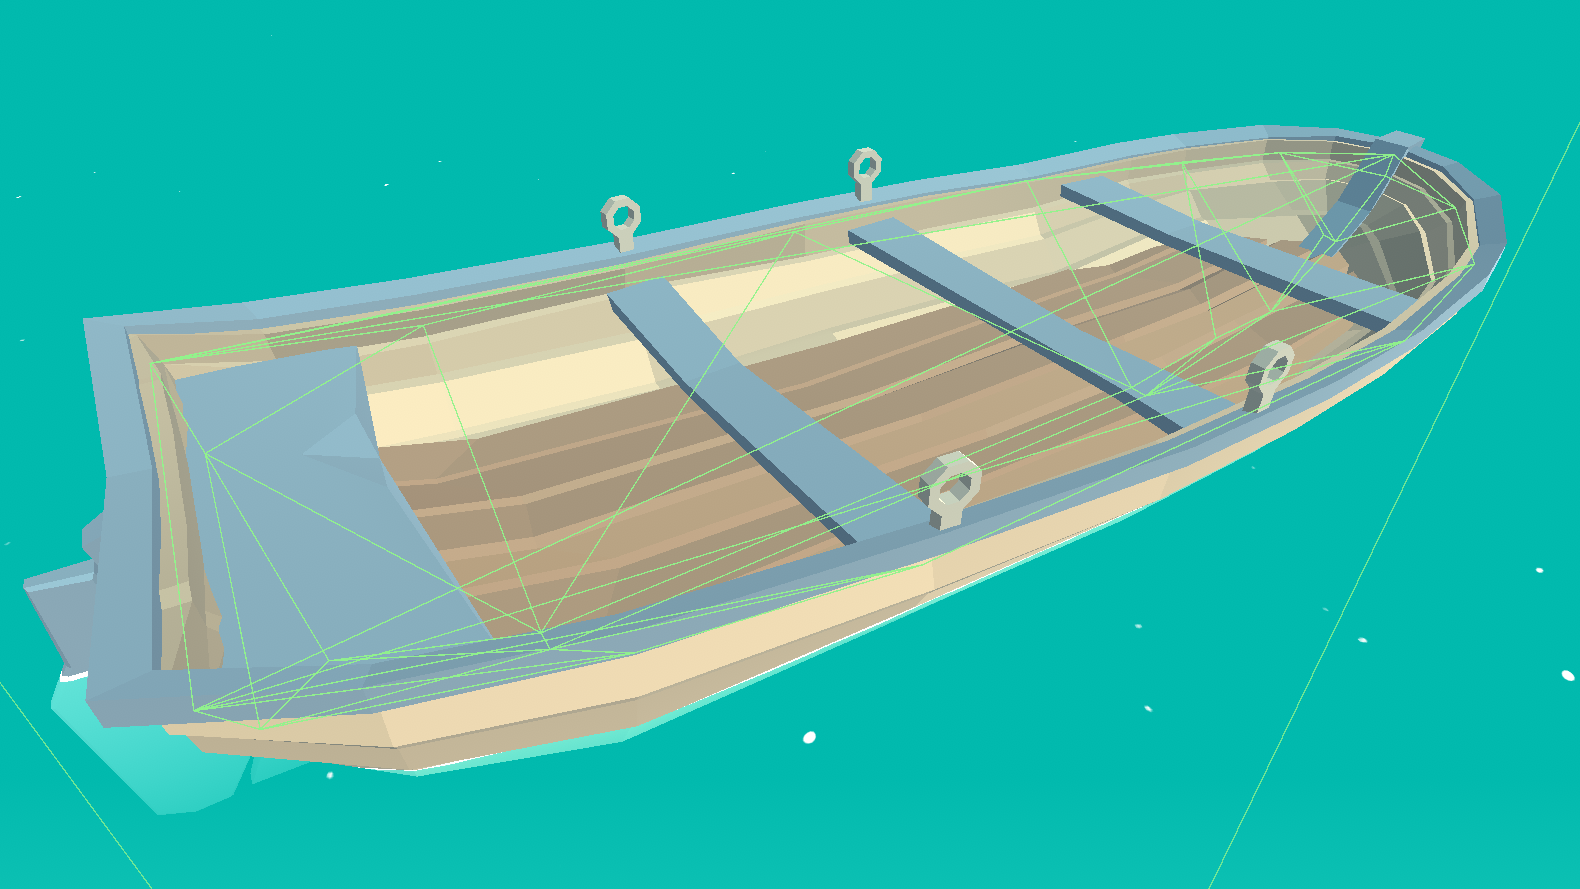
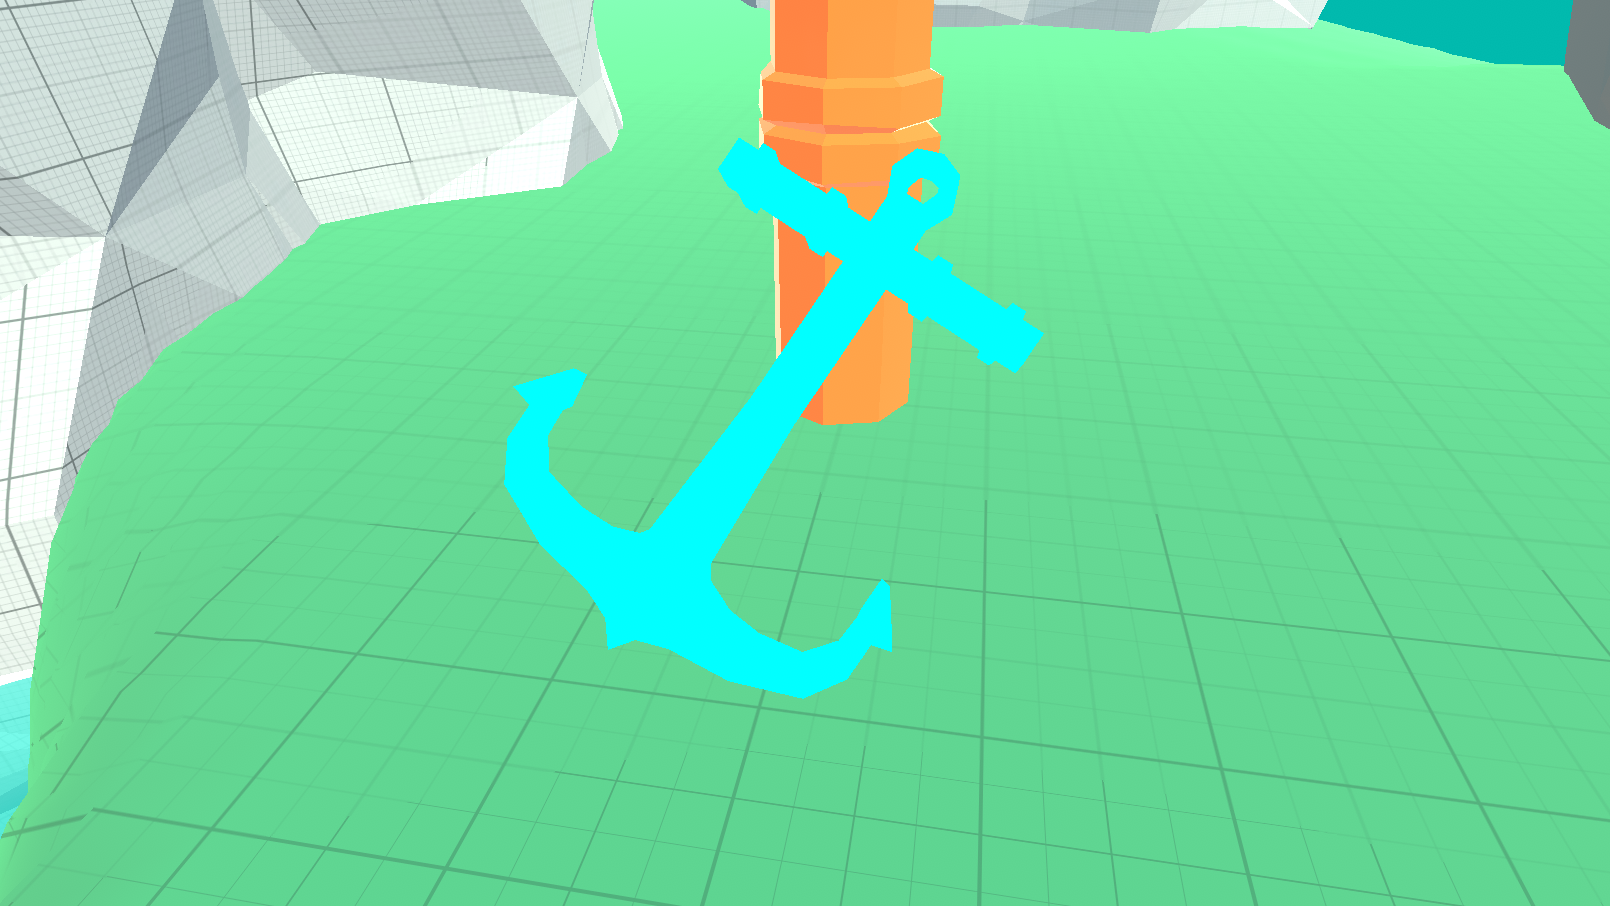
Here I have shown the results of using this shader with the collision boxes enabled to allow you to see where the object overlaps. From this you can remove the pesky water that keeps on flooding the boat you are trying to sail.
It is important to note that the reference values in the shader can be set in the inspector. For this example I believe it is important to present the minimum amount to the reader. This is done to insure that they can see how they can add this to they code without having to work out what is and is not bloat.
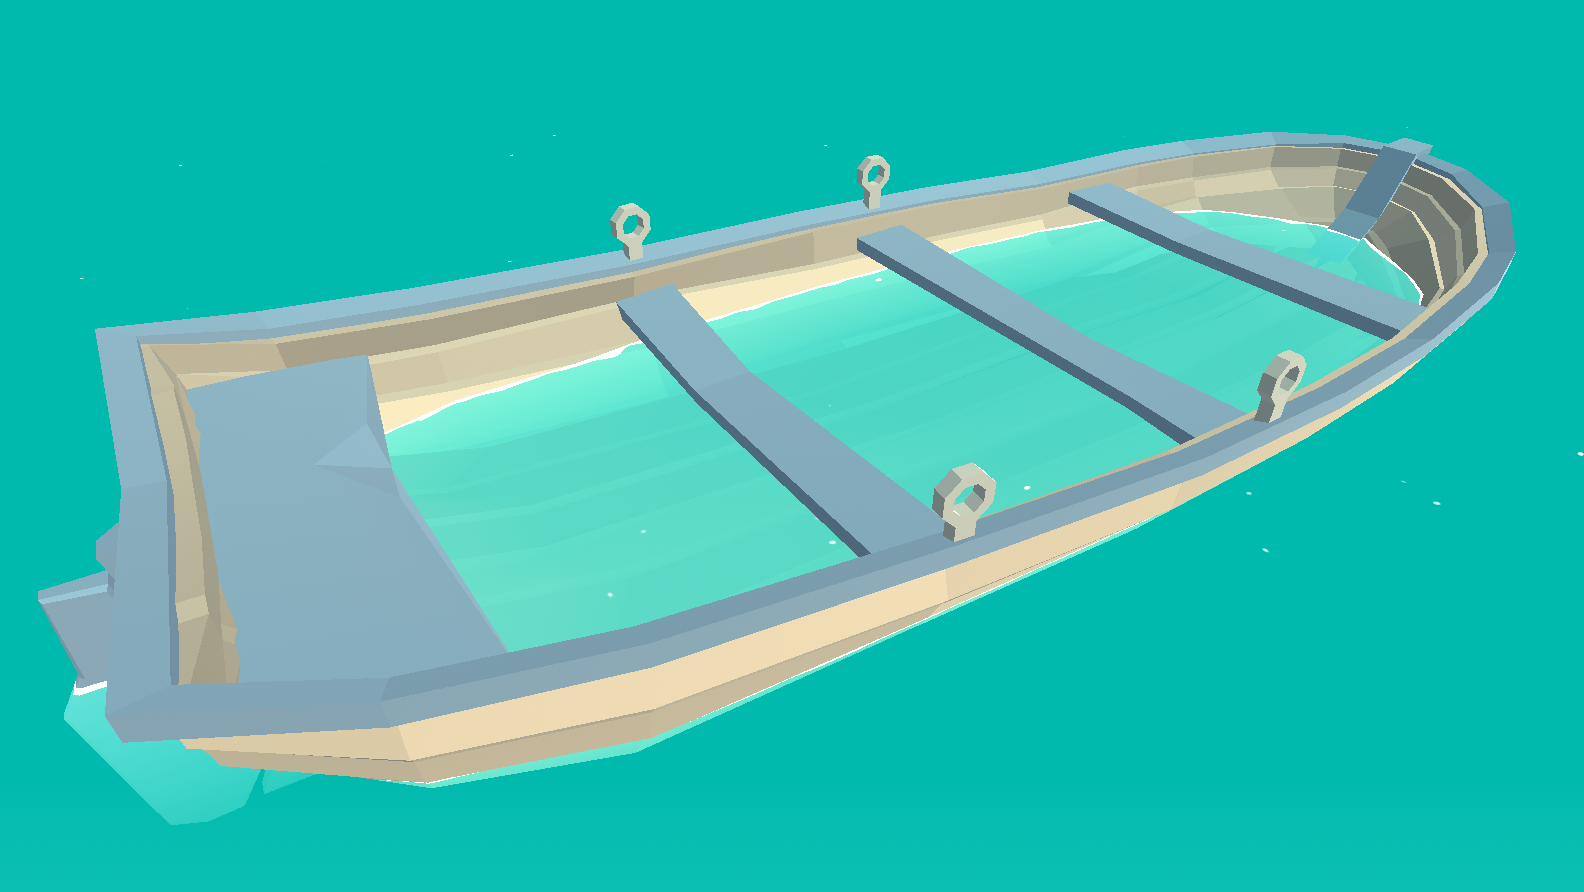
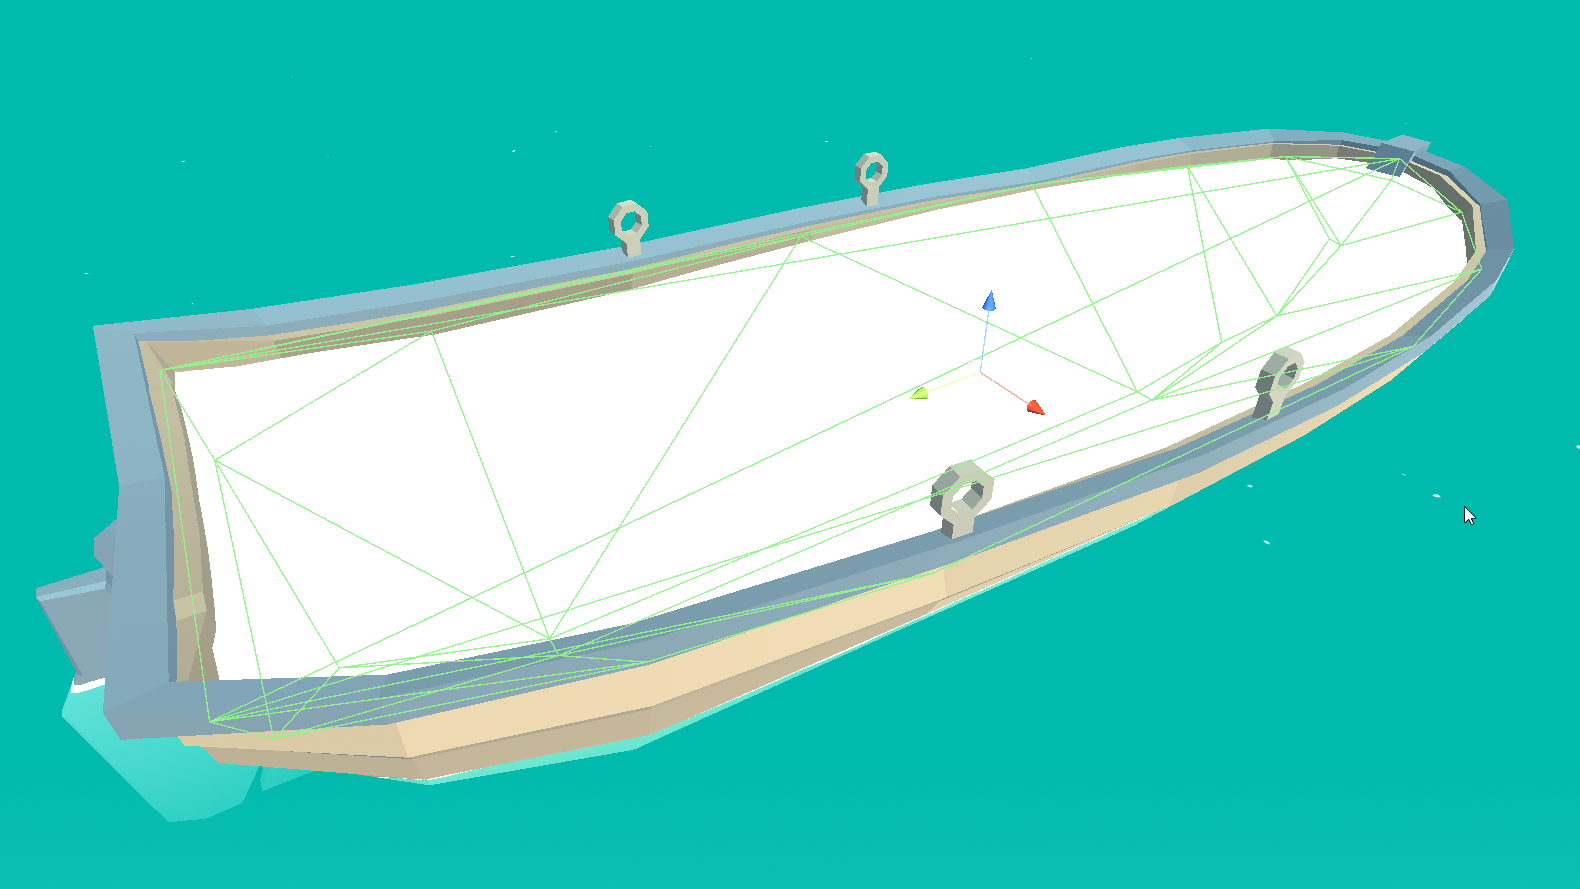
In this example I have created a rudimentary model that fills the shape of the inside of the boat, it more than acceptable to just use a plain surface that you can place on top of the boat but in my example it is possible for the camera to go below the plain, and allows the player to see the water that’s inside of the boat. When the camera is inside of a 3D model that is writing to the stencil buffer the entire buffer is filled with the reference value, this could potentially not be ideal if it is possible for the player to see more objects that read from the buffer, but as the boat is higher than the water we are fine but it is something to consider.
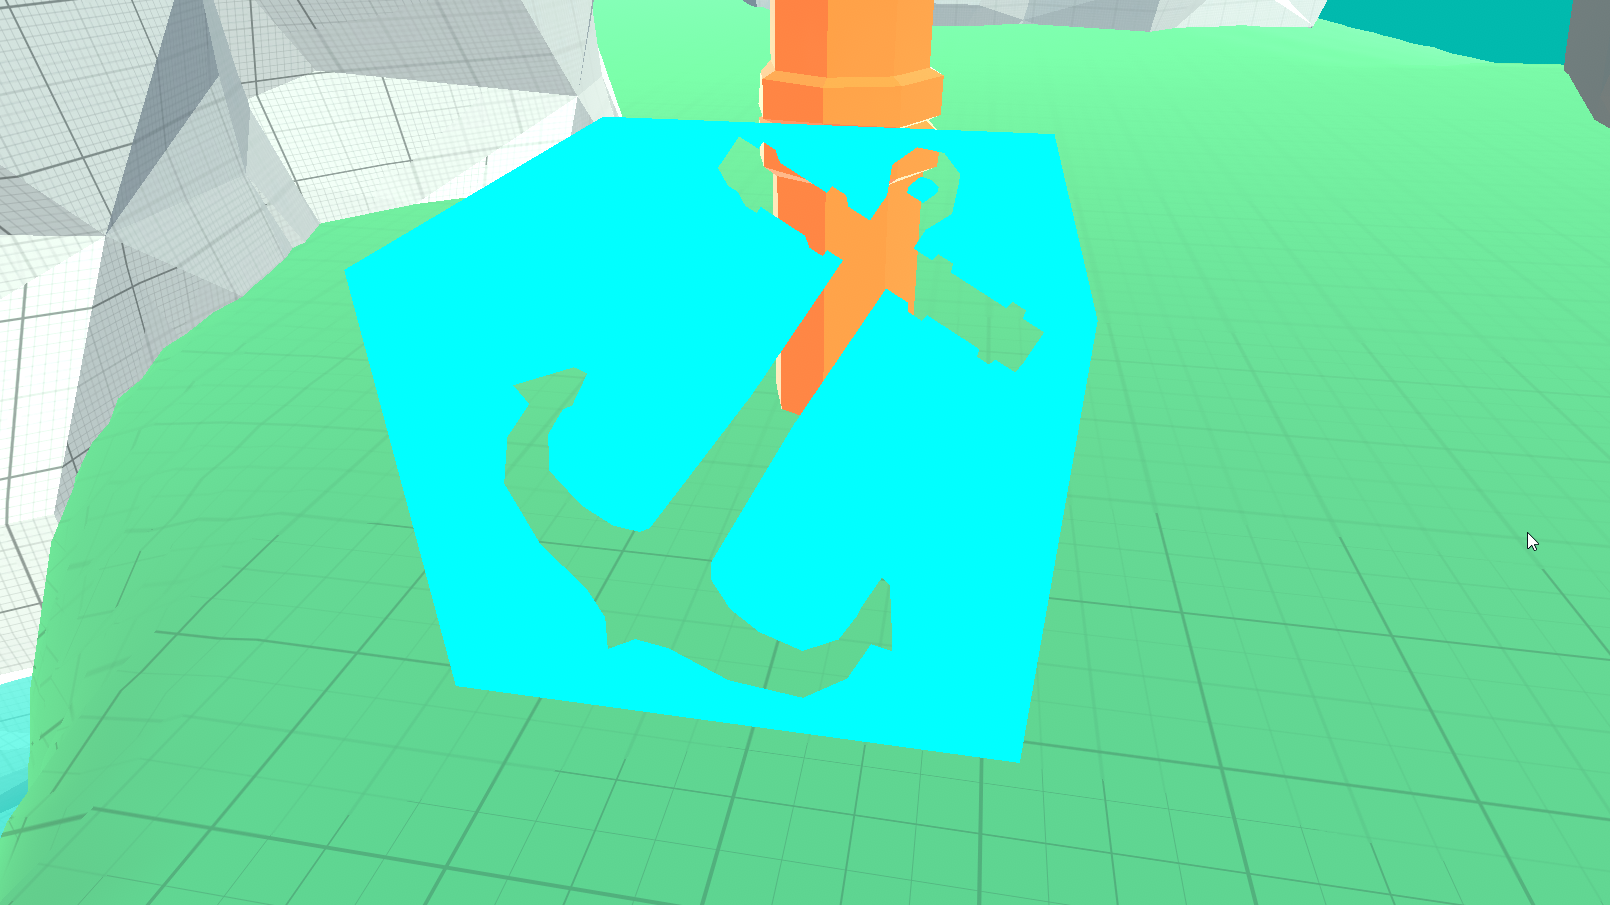
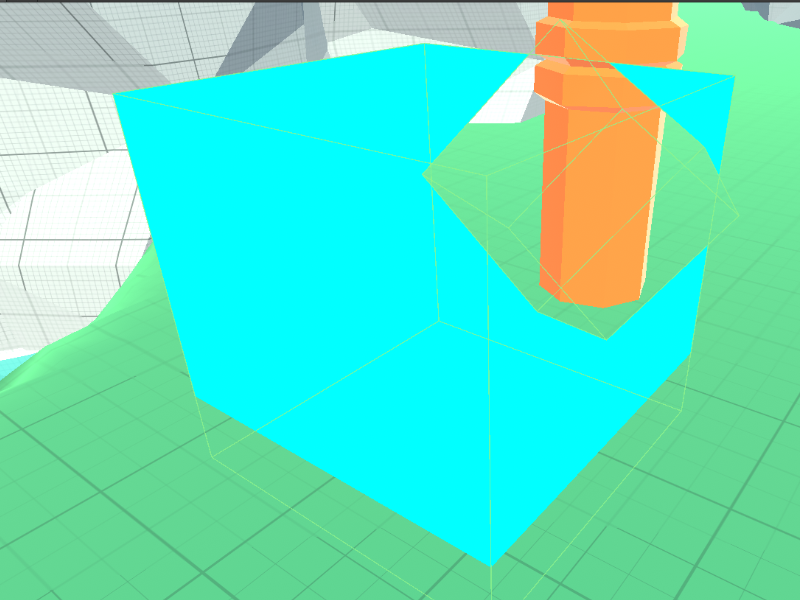
Something of note and could be useful for an experimental project, is to play around with the conditionals in the buffer. The above was achieved by only rendering the pixels when the conditional is met. Alongside this placing a 3D object inside of the read object allowed for an interesting effect, when walking and moving around the object .
I hope that this tutorial has been useful. I had lots of fun looking up how stencil buffer work when I was looking for a solution to the water in the boat problem, I was facing the other week.